All Roku TVs have three or four HDMI ports for connecting a gaming console, streaming device, and DVD/Blu-Ray Player. If you connect an external device to a Roku, navigate to Settings and select the TV Inputs option to change the input. If you don’t have a remote, use physical buttons or the remote app to change the source on your Roku TV.
How to Change Input on Roku TV With Remote
Once you connect an external device to your Roku TV, you can configure it using these steps.
1. Press the Home button on your Roku remote.
2. On the left pane of the screen, scroll down and select the Settings option.
3. Scroll down and select the TV inputs option.
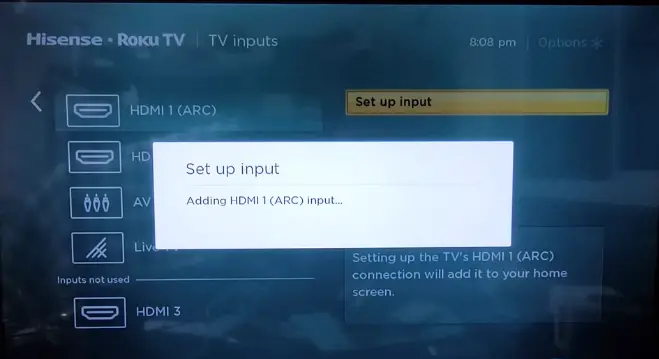
4. Choose the available inputs and tap the Set up input option.
5. After setting up the input, press the Home button on the Roku remote.
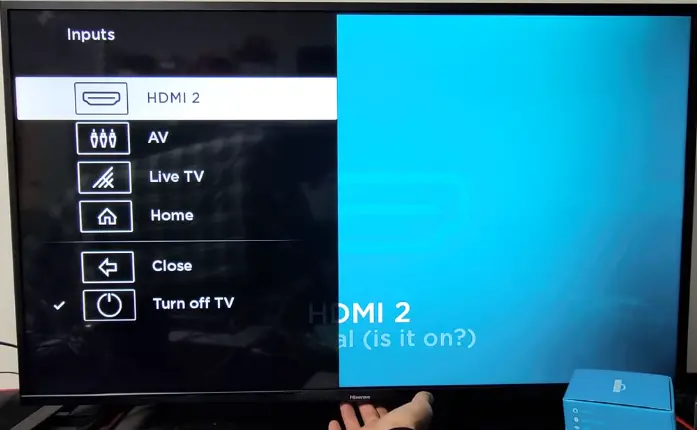
6. On the home screen, you can see all the Inputs.
7. Select the Input to make your Roku device switch to that source.
How to Change Input on Roku TV Without Remote
There are two ways to change the input on Roku TV without a remote, which are explained below.
Use the Physical buttons
All Roku TVs have physical buttons, but the position may vary for each model. You can find these buttons at the side, on the back panel, or at the bottom-center of your Roku TV.
1. Press the Main button on your Roku TV if it has only one button. If it has multiple buttons, press the middle button.
2. A menu will pop up on the left-hand side of the Roku TV.
3. Press the Main button again to scroll through the menu. If your Roku TV has directional keys, use the Up and Down buttons to scroll over.
4. Choose the Input you want to switch to and wait for 5 seconds. Your Roku TV will be switched to the selected HDMI source.
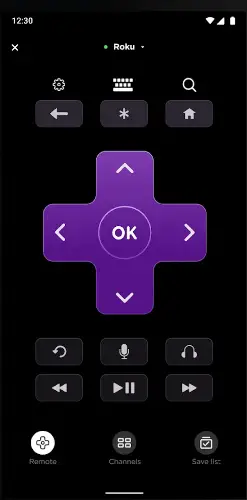
Using the Roku Remote App
If the Roku remote has been lost or you can’t press the TV buttons, don’t worry. You can simply connect the Roku remote app to your TV and use it as a virtual remote. Visit the App Store or Play Store to install the Roku app on your smartphone. Then, launch The Roku App and sign in with your account. Connect your smartphone to the same Wi-Fi as your Roku TV. Click Devices in the app and select your Roku TV to pair. Once connected, tap Remote to get the remote control interface. You can change the desired HDMI input on your Roku TV by going to Settings → TV Inputs → Select Input.
Frequently Asked Questions
Check the HDMI cable, inspect the HDMI port, restart the Roku TV, update the device firmware, and connect it to a different HDMI input.
